Du betrachtest gerade City Bus – Documentation
Text Customization

City Bus – Documentation

City Bus – Documentation

The objects of the bus are parented to an empty called Bus_ctrl.

How to import the bus:
– in your scene go to File/Append
– select City_Bus_v3/4.blend
– open Collection Folder
– Append file called Bus

Change display board

The second image shows additional details of the City Bus 3D model, including text customization options and other adjustments. This allows the model to be perfectly tailored to various scenarios and requirements.
City Bus 3D Model – Further Customizations

These images guide you through the process of changing the text on the City Bus 3D model. Follow steps 1 to 5 to see exactly where to click in the interface, ensuring an easy and smooth customization of the bus’s signage for your project needs.

Step 1: Select the 'indicator board' object, Step 2: Change the material to 'bus_tex4_a' in Blender.
City Bus 3D Model – Step 1 and 2
Step 3: Switch to the Shading workspace, Step 4: Change the material to 'bus_tex4_board' in Blender.
City Bus 3D Model – Step 3 and 4
Step 5: Delete the old material and replace it with 'bus_tex4_board' in Blender.
City Bus 3D Model – Step 5

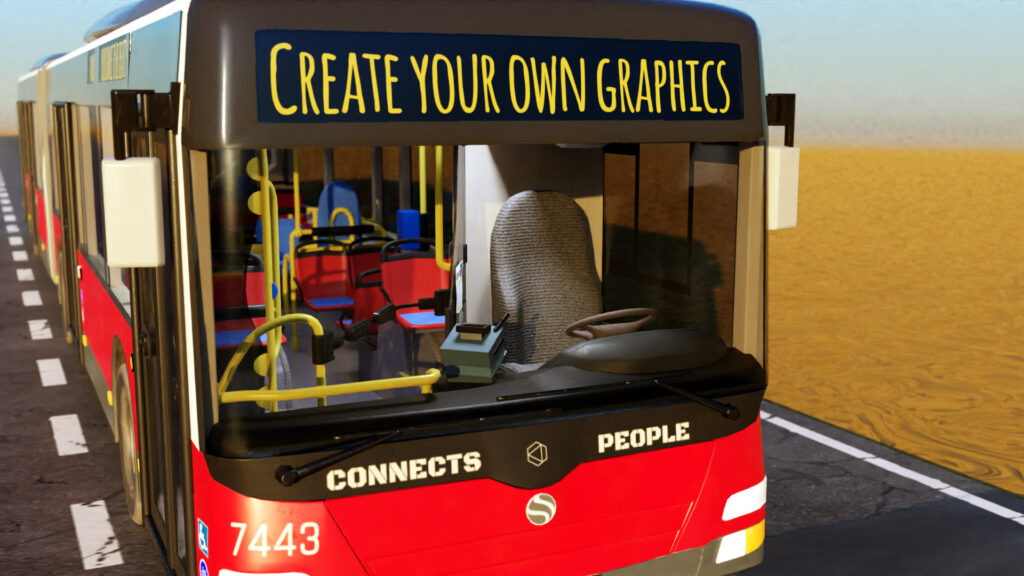
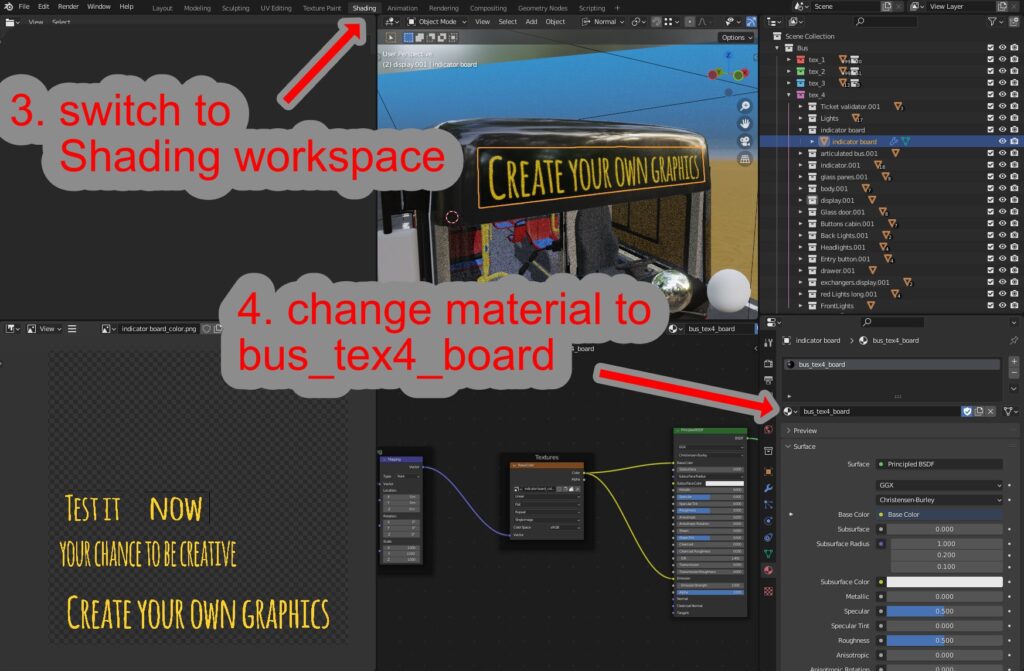
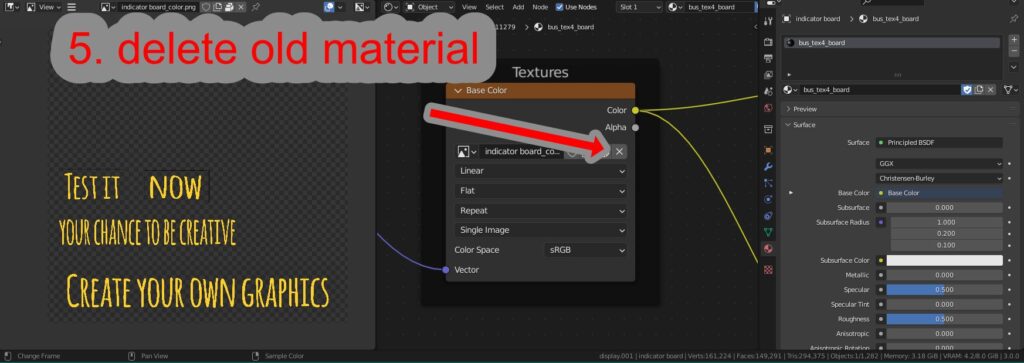
Then just upload your own picture. So easy.

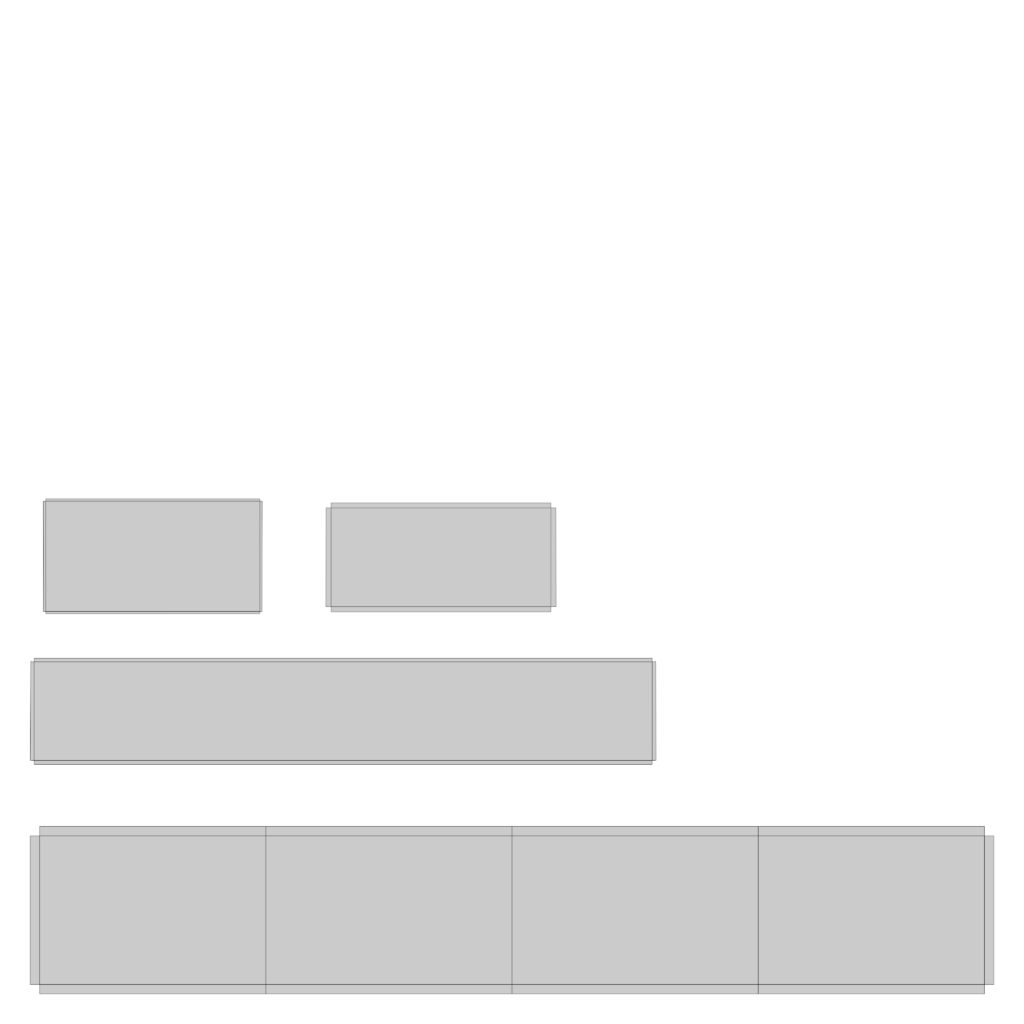
Use this template now and create your own graphics:

UV map template for text placement on 3D models. This layout helps guide where to place text and graphics in software like Photoshop to ensure correct alignment on the 3D model.
UV Template for Text Placement

In the download you will receive:

City_Bus_v4.zip ………………………………….. Blender file incl. textures (for Blender 3.x)

City_Bus_v3.zip ………………………………….. Blender file incl. textures (for Blender 2.9x)

The latest version of the previous bus model is also available for download:
blend_file_shop_v201.zip  …………………..Textures in jpg and png format, same Blender file as above

Vavrinec

Meine 3D-Erfahrung reicht bis zu 3D Studio 4 unter DOS zurück; in den 1990ern arbeitete ich mit 3ds Max und Softimage. Seit 2011 bildet Blender die Basis meiner täglichen Produktion; je nach Projekt ergänze ich Adobe Substance 3D Painter, Affinity Photo, Affinity Designer und DaVinci Resolve – unter Linux Mint oder Windows. Du kannst präzise Modellierung, saubere Material-/Look-Entwicklung und klare, verlässliche Abläufe erwarten – von der ersten Skizze bis zum finalen Rendering. Ob Architektur- oder Produktvisualisierung, Standbild oder Animation: Ich verbinde technische Genauigkeit mit gestalterischer Klarheit, damit deine Inhalte ohne Umwege überzeugen.